Forget everything you thought you knew about hydrangea propagation.
While most gardeners reach for their pruning shears in spring, the real pros are quietly taking cuttings in fall, and growing stronger, healthier plants with significantly higher success rates.
I was shocked to discover that autumn’s semi-hardwood stems are actually the plant propagation equivalent of hitting the jackpot!
Why Fall Beats Spring For Hydrangea Cuttings (And It’s Not Even Close)
The game-changer for your hydrangea propagation isn’t what you think. It’s all about timing!
While those tender spring shoots might look promising, they’re actually botanical drama queens, quick to wilt and collapse under the slightest stress.
Fall cuttings, by contrast, are like the steady, reliable friend who shows up with soup when you’re sick.
They’re in that perfect “Goldilocks” stage; not too soft, not too woody, but just right. Here’s what makes autumn cuttings magical:

- Semi-hardwood sweet spot: Fall stems have the perfect balance, firm enough to hold water but not so woody they refuse to root. Like a marathon runner at peak condition!
- Sugar rush to the bottom: As days shorten, hydrangeas pump carbohydrates to their base – essentially loading your cutting with root-making energy.
- Stress-free environment: Cooler temperatures mean less water loss through leaves. Your cuttings can focus on rooting instead of just surviving.
- Root development priority: With dormancy approaching, the plant naturally shifts focus below ground – exactly what you want for propagation.
- Pest pressure plummets: Those annoying summer aphids and fungal issues? They’re winding down just as you’re gearing up.
Did you know? Research shows that fall cuttings can develop up to 40% more root mass by spring than those taken in traditional seasons!
Not All Hydrangeas Are Created Equal: Which Root-Like Champions
The secret most plant experts won’t tell you is that some hydrangea varieties practically leap out of the soil to grow roots, while others need more coaxing. If you’re new to the propagation game, start here:
- Propagation Superstars: Smooth hydrangeas (like ‘Annabelle’) root so easily it’s almost cheating. Perfect for beginners!
- Solid Performers: Panicle types (‘Limelight’, ‘Bobo’) root readily with minimal fuss.
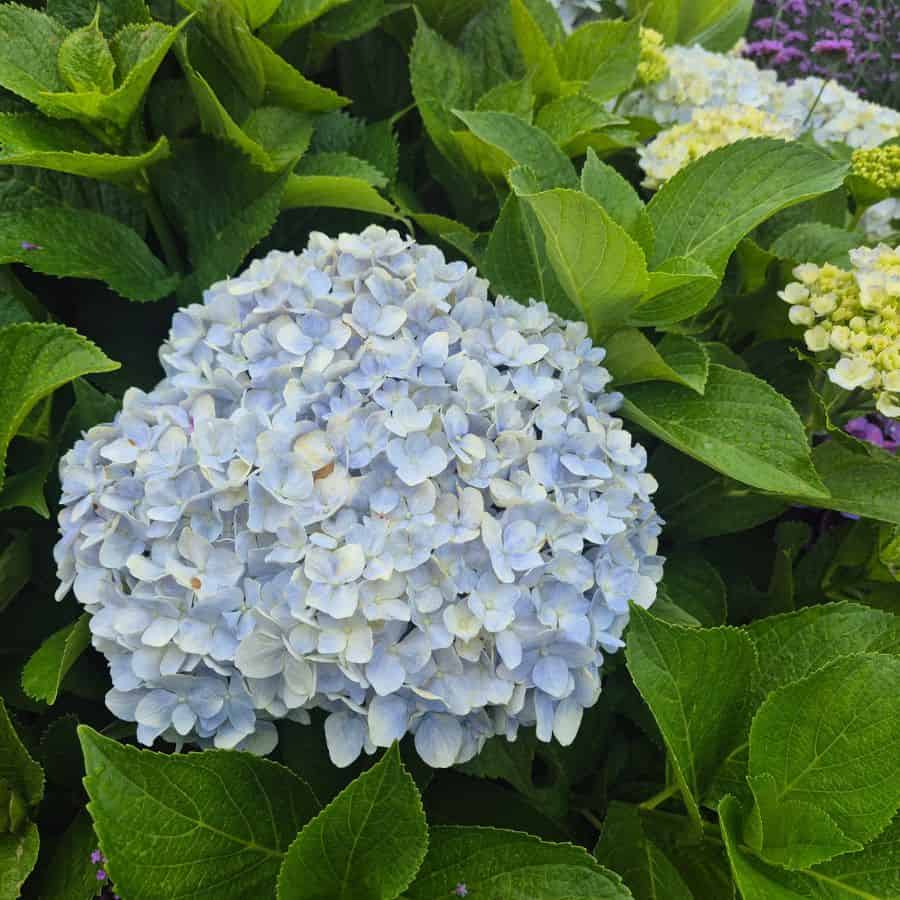
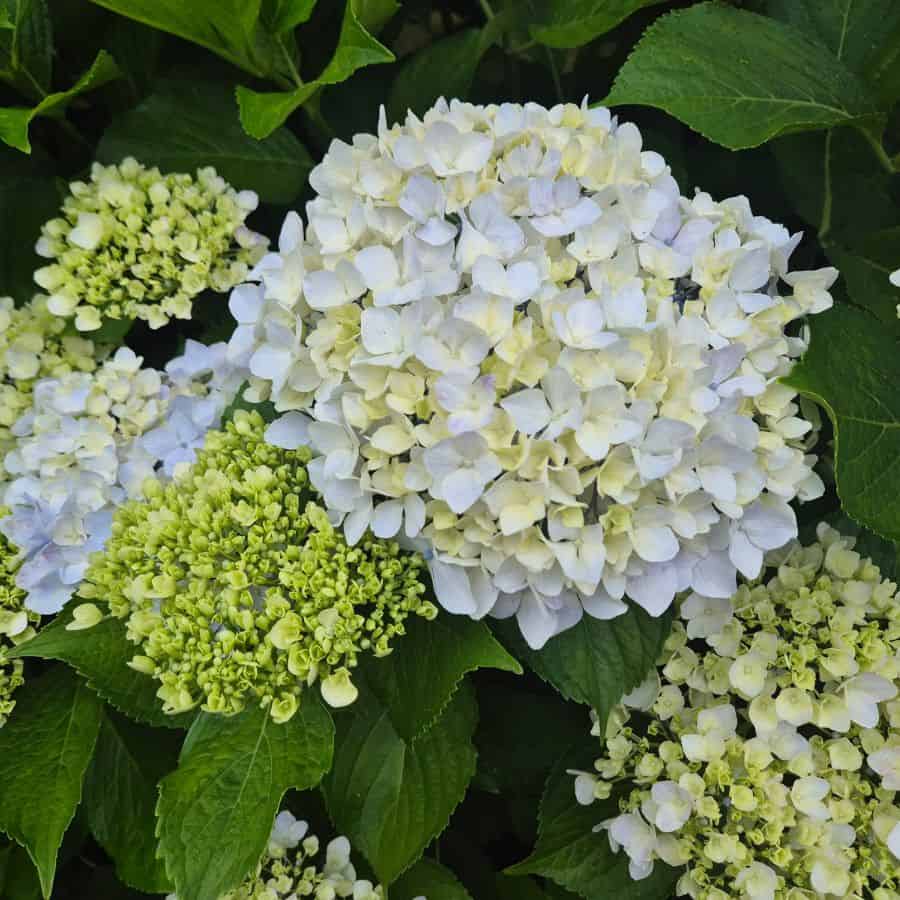
- Middle-of-the-Pack: Bigleaf and mountain hydrangeas (the blue/pink color-changers) do beautifully with fall cuttings.
- Challenge Mode: Oakleaf varieties are the divas of the hydrangea world – they’ll root, but demand more attention to humidity and warmth.
Your hydrangea is trying to tell you something important: “Cut me in fall, and I’ll reward you with a garden full of free plants!
Gather Your Propagation Arsenal: Tools For Success
Before you start snipping, set yourself up for propagation triumph with these essentials:
- Sharp, clean pruning shears (sanitize with alcohol to prevent spreading disease)
- Rooting hormone (optional but boosts success rates by up to 30%)
- Small pots or cell trays with drainage
- Light potting mix (equal parts perlite and peat/coco coir is perfect)
- Clear plastic covering (bags, domes, or repurposed clear containers)
- Spray bottle for misting
- Plant labels (trust me, you’ll forget which variety is which)
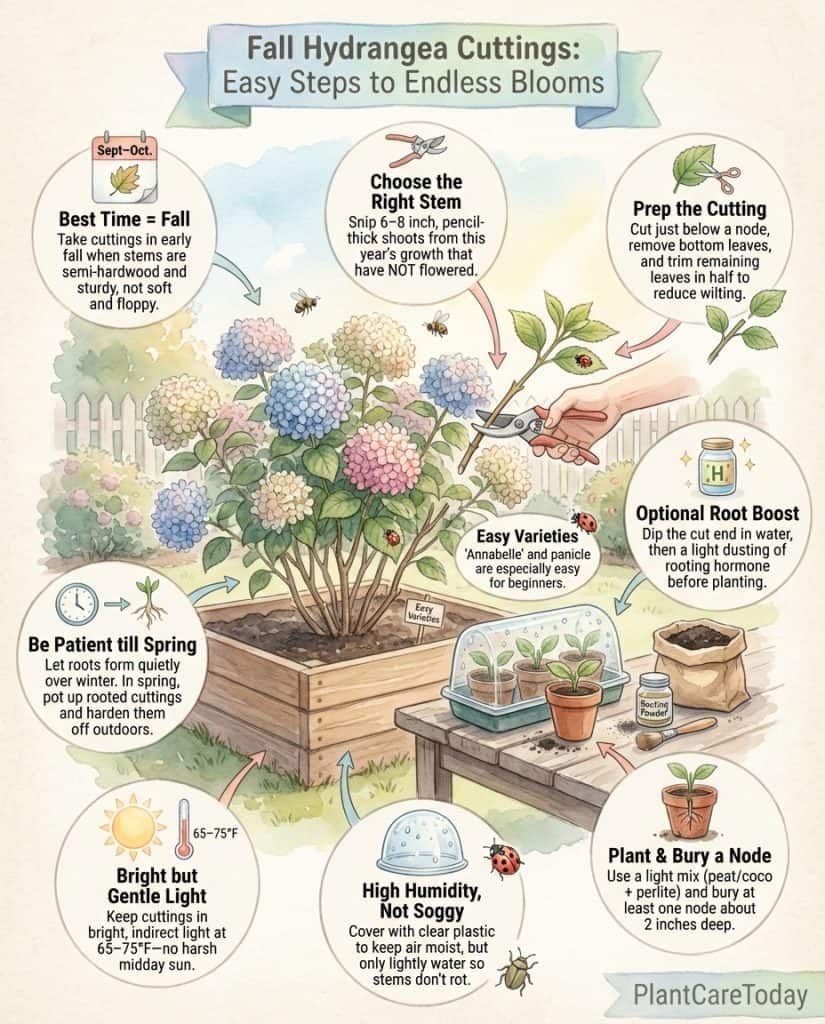
The 7-Step Fall Cutting Method That Actually Works
The difference between amateur and pro plant parents is simply following these steps with precision . Your future hydrangeas are counting on you!
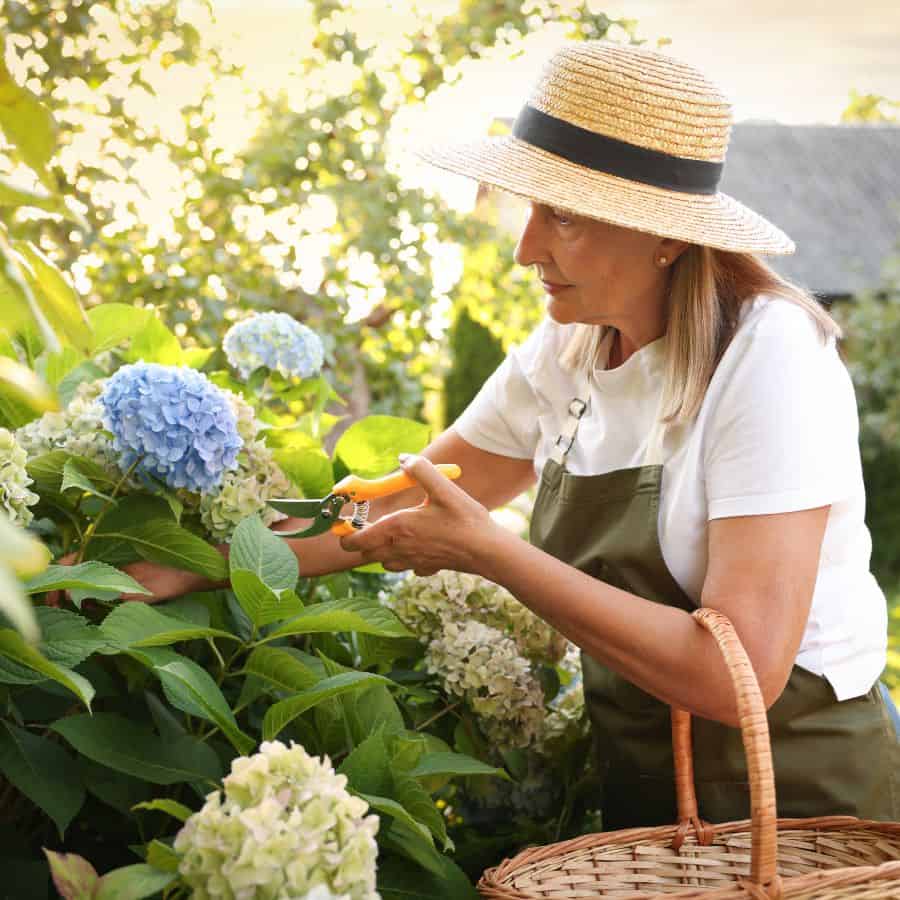
- Select perfect stems: Choose 6-8 inch sections of this year’s growth that haven’t flowered. Look for stems as thick as a pencil with 3-4 leaf nodes.
- Make the magic cut: Snip just below a leaf node – this is where rooting hormones naturally concentrate. Like cutting at nature’s “X marks the spot.”
- Prep your cutting: Remove the lowest pair of leaves completely. Then, cut the remaining leaves in half horizontally to reduce water loss. This leaf-trimming step alone can double your success rate!
- Apply rooting hormone: Dip the cut end in water, then into rooting powder or gel. Tap off excess – a light dusting is all you need.
- Plant strategically: Insert about 2 inches deep into moistened potting mix, ensuring at least one node is buried. Firm soil gently around the stem.
- Create a humidity haven: Cover with clear plastic, supported by sticks to prevent touching leaves. You’re creating a mini-greenhouse that’s humid but not wet.
- Position properly: Place in bright, indirect light where temperatures stay between 65-75°F. Direct sun will cook your cuttings faster than a microwave!
The Critical Timeline: From Fall Cutting to Spring Flourish
Propagation isn’t a sprint. It’s a marathon with distinct phases. Here’s your month-by-month roadmap to success:
- September-October: Take cuttings while stems are in that semi-hardwood sweet spot. Get them potted and under humidity domes.
- November-December: The quiet phase. Don’t overwater! Roots are forming below the surface even when nothing seems to be happening. Like a duck – calm above water, paddling furiously below.
- January-February: Gently tug cuttings to check for resistance (a sign of rooting). Remove any that show signs of rot to protect the others.
- March-April: Once roots are 2-3 inches long, transplant to larger pots. Begin hardening off outdoors gradually.
- May-June: Plant your rooted babies in the garden after frost danger passes. Feed lightly to encourage vibrant growth.
When Things Go Wrong: Rescue Your Struggling Cuttings
Most people make this mistake with their hydrangea cuttings: they give up too soon! Even pros face challenges, but here’s how to turn disasters into dramatic comebacks:
- Wilting within days? Your humidity is too low. Increase moisture by misting inside the dome and ensuring it’s properly sealed.
- Black, mushy stems? Too much water! Remove affected cuttings, improve drainage, and water less frequently.
- White powdery stuff growing? That’s fungus from poor air circulation. Vent your dome daily and remove affected material.
- No roots after 8 weeks? Check bottom warmth (65-75°F is ideal) or try fresh cuttings from a different part of the plant.
Remember: propagation isn’t magic. It’s just harnessing a plant’s natural ability to regenerate. With patience, even struggling cuttings can transform into spectacular specimens!
The Long-Term Payoff: From Cutting to Flowering Glory
When will your patience with propagation pay off? Here’s the timeline to spectacular blooms:
- Year 1: Focus on root and stem development. Don’t expect flowers – your plant is building its foundation.
- Year 2: Your patience begins to pay off with some flowering, though still not at full potential.
- Year 3+: Full flowering power unleashed! Your propagation skills have created a mature, flourishing hydrangea.
The miracle of propagation isn’t just saving money (though getting 10+ plants for free is incredible). It’s about connecting with the full lifecycle of these magnificent plants. There’s something deeply satisfying about nurturing a simple cutting into a lush, flowering shrub that will thrive for decades.
So grab those pruners and head out this fall. Your garden’s future is literally in your hands – and it’s about to flourish in ways you never imagined!