
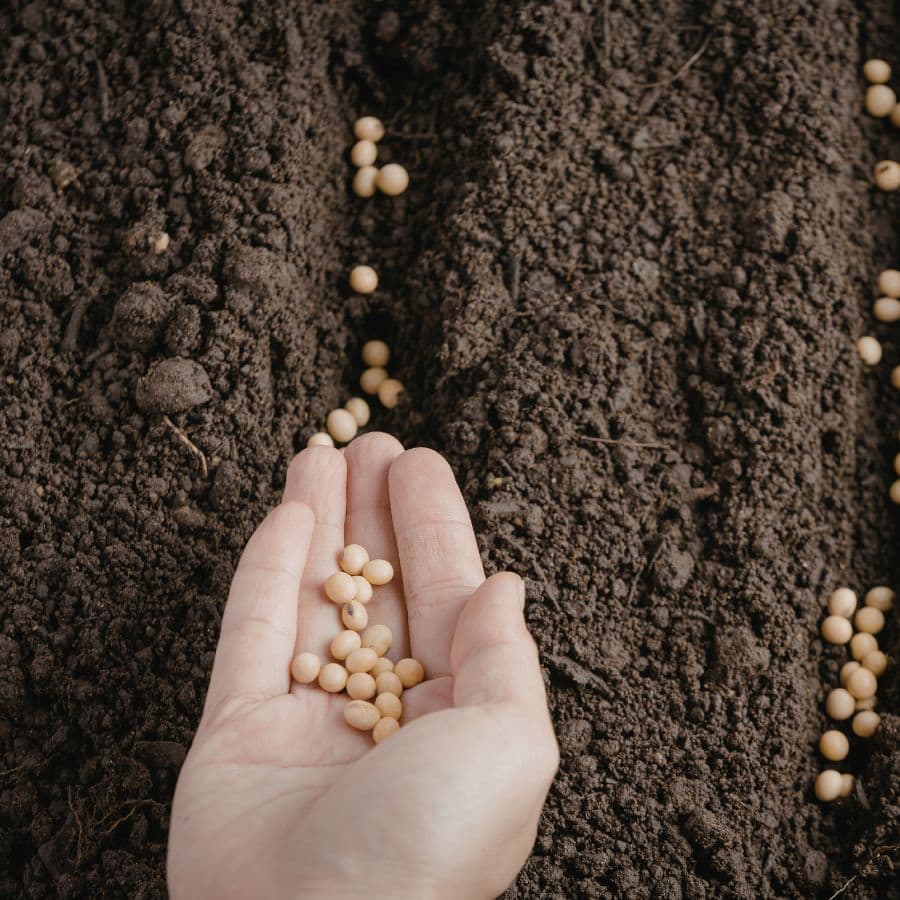
Another gardening season has ended, leaving you with handfuls of precious seeds. But before you toss them in a drawer (the silent seed killer!), I need to share something crucial.
The average gardener unknowingly destroys up to 70% of their stored seeds before the next planting season! Ready to join the elite seed-saving club instead?
Your future garden’s spectacular transformation begins with these game-changing techniques.
The Deadly Seed Assassins Lurking in Your Home
Your innocent-looking seeds face a triple threat so sinister it would make a thriller movie plot.
Each enemy attacks differently, but all lead to the same tragic ending: seed death.
- Heat: This sneaky killer tricks seeds into burning through their stored energy reserves prematurely, leaving them essentially starved to death before they ever touch soil.
- Light: The silent assassin that slowly damages your seeds from the inside out. By the time planting season arrives, they’re secretly dead – you just don’t know it yet.
- Moisture: The fastest executioner. It triggers premature sprouting without soil or proper conditions, creating a brief moment of life followed by immediate withering. Talk about cruel!
Forget what you’ve heard about plastic baggies in the junk drawer… Proper seed storage requires a strategy that defeats all three villains simultaneously!
The Seed Survival Blueprint: Your 3-Step Rescue Plan
Step 1: The Critical Drying Phase
First things first – your seeds need proper preparation for their hibernation. If you’ve harvested them yourself, they must be bone dry.
For large seeds, try the snap test. They should break with a crisp crack, not bend like a gymnast. Smaller seeds? Spread them on paper towels in a warm, airy location for several days.
Just like you wouldn’t want to be locked in a room with someone who has the flu, don’t let one bad seed contaminate the bunch.
Remove all plant debris, chaff, and any seeds that look damaged or diseased. This simple step can dramatically increase your success rate next season!
Step 2: Choose Your Seed Sanctuary
The secret most plant experts won’t tell you is that the container matters almost as much as the location. Your storage vessel needs to be both airtight AND opaque: a rare combination!
- Best options: Glass canning jars with rubber seals, thick plastic zipper bags (placed inside an opaque container), or specialized seed storage containers
- Pro-level move: Vacuum-sealed containers that remove excess air for ultra-long seed viability
And for the love of all things green, LABEL EVERYTHING. Include the plant name, variety, and storage date.
There’s nothing more frustrating than planting what you think is basil only to watch sunflowers emerge! (Though admittedly, that’s a pretty spectacular mistake.)
Step 3: Location, Location, Location
Finding the perfect resting place for your seeds is like real estate for tiny plant embryos.
The ideal temperature range is 35-40°F (1-4°C), making your refrigerator a seed-friendly environment.
I was surprised to learn that storing seeds in a refrigerator can extend their viability by up to 5 years compared to room-temperature storage. But be careful. You’ll need double-sealed containers to protect against humidity.
Avoid garden sheds, garages, and kitchen cabinets where temperature fluctuations and humidity can turn your seed collection into compost before spring arrives.
Level-Up Your Seed Game: The Desiccant Secret
The difference between amateur and pro plant parents is simply this: desiccants . These moisture-absorbing miracle workers can revive even a mediocre storage system.
- Silica gel packets (save them from vitamin bottles and new shoes!)
- Powdered milk wrapped in tissue paper
- Epsom salt (cheap and effective)
Toss one in your seed container and watch it do its magic! When your desiccant becomes clumpy or changes color, it’s time to replace it.
You can even recharge most desiccants in a low-temperature oven; talk about sustainable gardening!
Seed Lifespan: Know Your Numbers
Not all seeds are created equal. Some are marathon runners, while others are sprinters. Here’s the lifespan breakdown that will transform your planning:
Short-Lived Seeds (1-2 Years)
- Vegetables: Onion, parsley, parsnip, leek
- Flowers: Delphinium, phlox, verbena

Medium Lifespan (3-4 Years)
- Vegetables: Beans, carrots, corn, peas, spinach, beets, chard, lettuce, peppers
- Flowers: Aster, calendula, columbine, cosmos, marigold, zinnia
Long-Lived Champions (5+ Years)
- Vegetables: Broccoli, cabbage, cucumber, eggplant, kale, melons, radish, squash, tomato
- Flowers: Dianthus, hollyhock, nasturtium, poppy, sunflower
Remember, though. These timeframes assume proper storage! A poorly stored “long-lived” seed might not survive a single year, while a perfectly stored “short-lived” seed could surprise you with its resilience.
Your Garden’s Future Buried in a Jar
While we’re not aiming for ancient Egyptian seed preservation (though some 2,000-year-old date palm seeds have successfully sprouted!), your properly stored seed collection is a living time capsule of possibilities.
With these techniques, you’re not just saving seeds. You’re preserving genetic diversity, saving money, and ensuring your garden’s spectacular future.
Each tiny seed contains a blueprint for abundance that’s waiting patiently for its moment to flourish.
The game-changer for your garden isn’t what you think… It’s not the latest fertilizer or tool, but rather these humble seeds stored properly today that will transform your garden for years to come !