I was surprised to learn that egg cartons from your kitchen can actually help you grow better carrots.
If you’re working with limited space or having trouble getting carrot seeds to sprout, this simple method is worth trying.
Why Egg Trays Work Well for Starting Carrots
Carrot seeds can be tricky to germinate directly in garden soil. They need consistent moisture and protection during their early stages, which is hard to maintain outdoors.
Egg trays create individual compartments that keep seeds at the right moisture level. And unlike store-bought seedling trays that can cost $15 or more, these are basically free.
5 Benefits of the Egg Tray Method
• Uses materials you’d normally throw away
• Costs nothing while improving germination rates
• Individual cells keep roots from tangling together
• Takes up minimal space on windowsills or counters
• Cardboard trays can be planted directly, which reduces transplant shock
What You’ll Need
You probably have most of these supplies already:
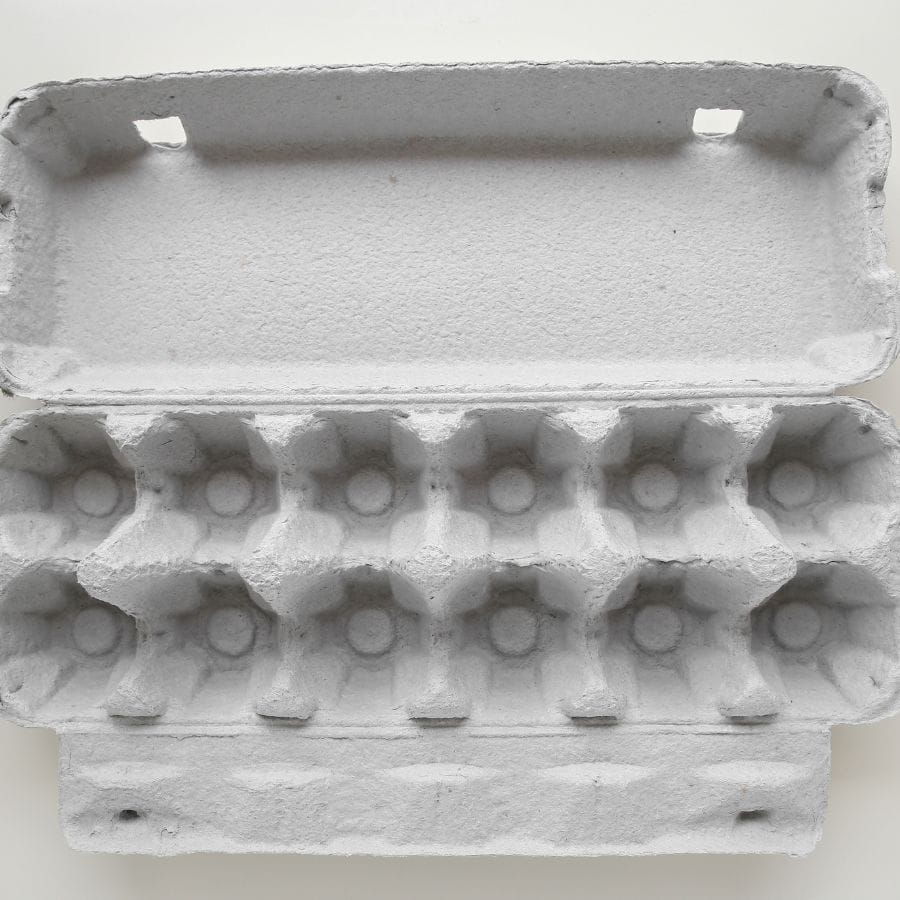
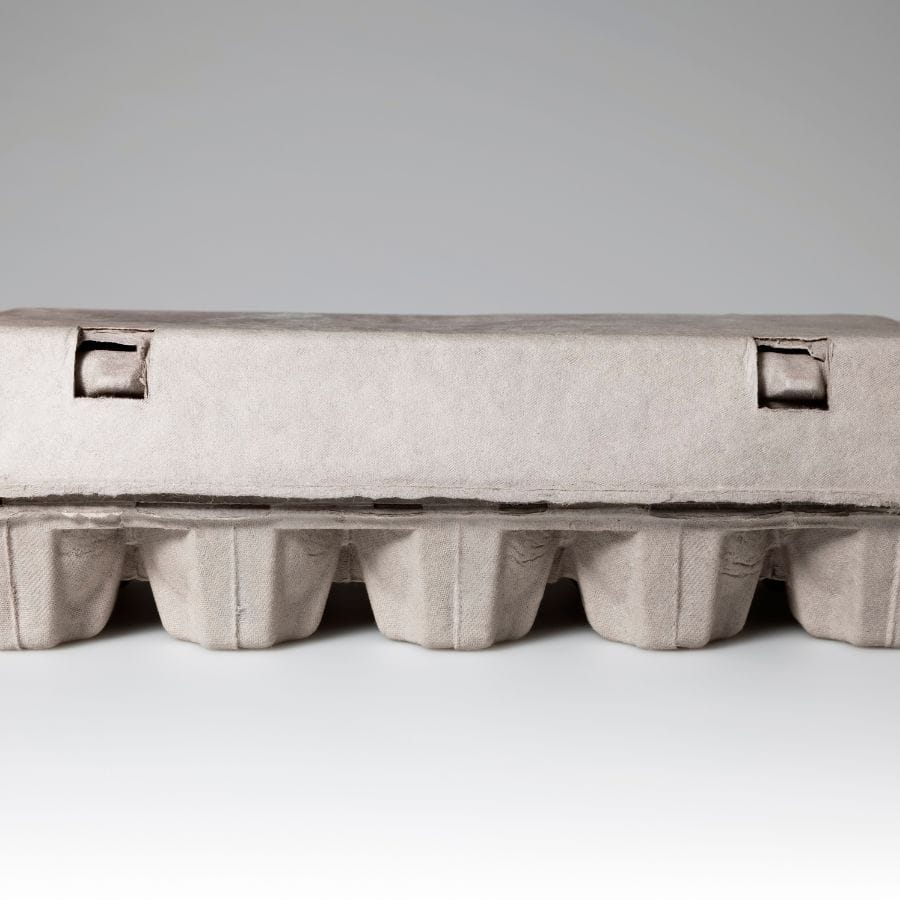
• 1 cardboard egg tray (plastic works too, but can’t be planted)
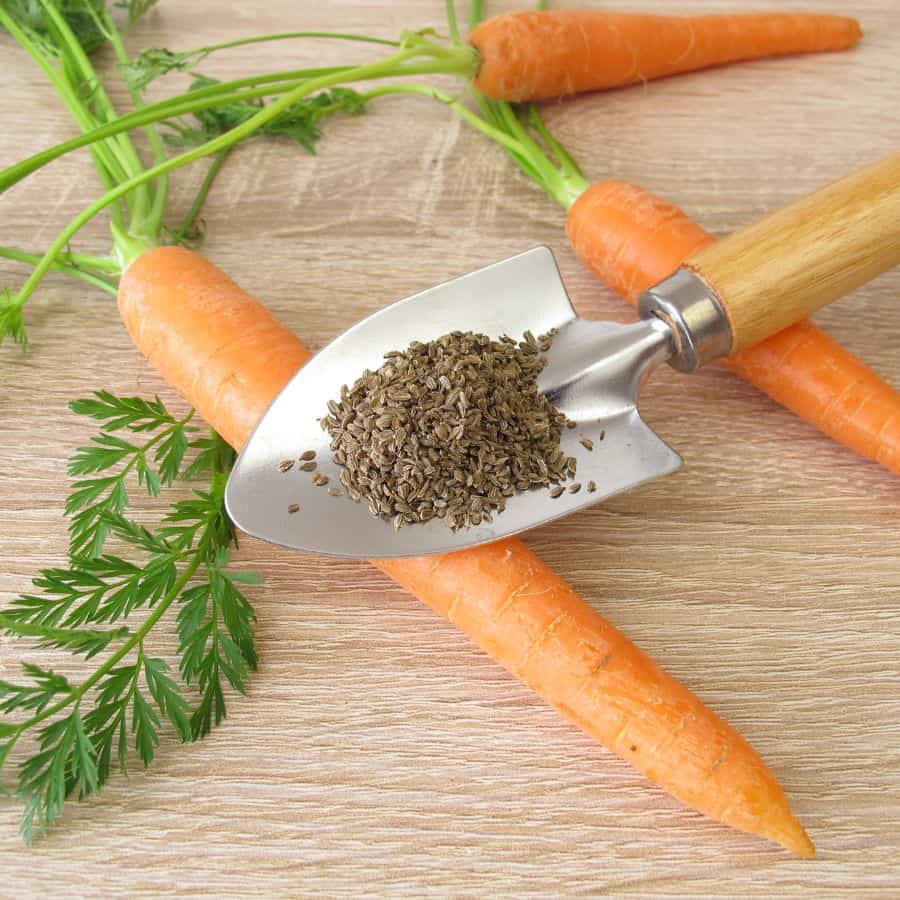
• Carrot seeds (quick-growing varieties like ‘Paris Market’ or ‘Thumbelina’ work best)
• Seed-starting mix (not garden soil, which is too dense)
• Spray bottle with water
• Shallow dish for drainage
• Clear plastic wrap
• Scissors or small knife
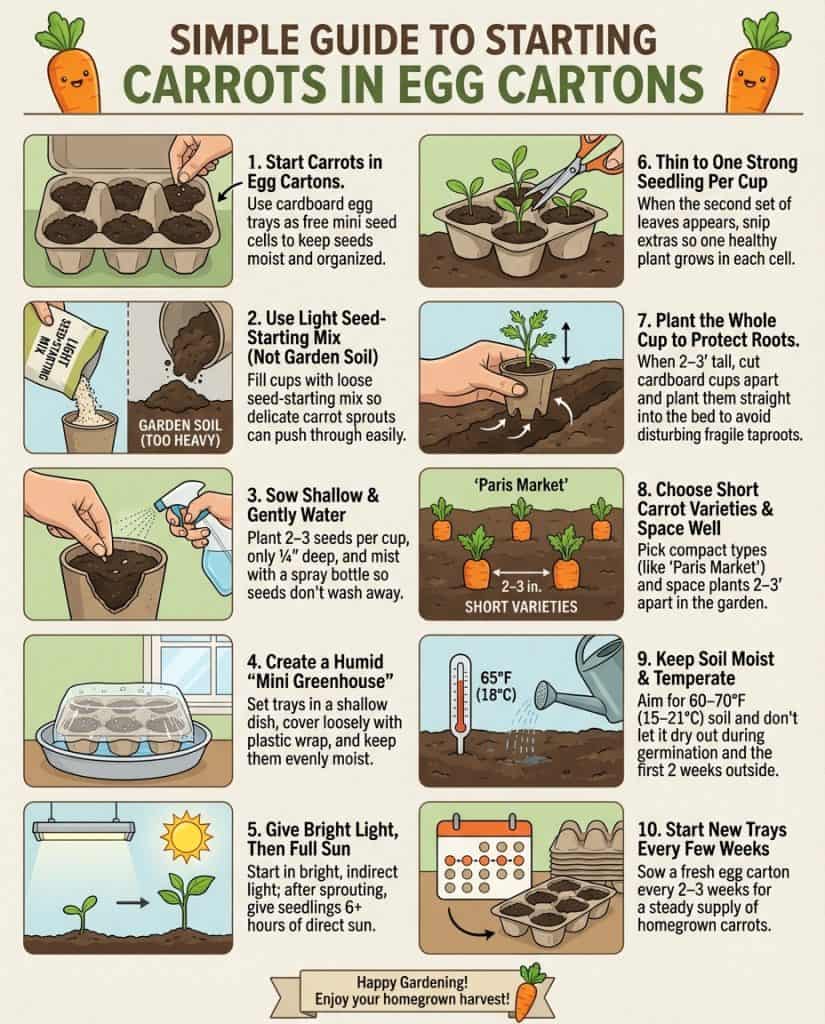
How to Start Carrots in Egg Trays
The most common mistake is rushing through these steps. Taking your time makes a real difference.
1. Prep your tray: Poke drainage holes in the bottom of each cup. This prevents overwatering, which kills more seedlings than anything else.
2. Add the right soil: Fill cups with seed-starting mix. Regular garden soil is too heavy for delicate seedlings to push through.
3. Plant seeds: Drop 2-3 seeds in each cup. Cover with just ¼ inch of soil. These small seeds need some light to germinate, so don’t bury them deep.
4. Water gently: Use a spray bottle to mist the soil. A hard stream of water can displace tiny seeds. Keep the soil consistently moist but not waterlogged.
5. Create humidity; Cover with plastic wrap and poke a few small air holes. This keeps moisture levels steady.
6. Wait and watch: Place in bright, indirect light until seeds sprout (usually 1-3 weeks). Once you see seedlings, give them 6+ hours of direct sun daily. When the second set of leaves appears, thin to one seedling per cup.
7. Transplant carefully: When seedlings reach 2-3 inches tall, they’re ready to move outside. With cardboard trays, cut the cups apart and plant them directly. Cardboard naturally breaks down in the soil.
Why This Method Works
The real trick with carrots is that they hate being disturbed once they start growing. Their thin taproots can be damaged during traditional transplanting, resulting in stunted or deformed carrots.

By planting the entire cardboard cup, you avoid disturbing the roots.
For best results, keep these tips in mind:
• Choose shorter carrot varieties for starting in trays (they handle the limited depth better)
• Keep soil temperature between 60-70°F (15-21°C) for germination
• Don’t let the soil dry out completely during the first 2 weeks after transplanting
• Space plants 2-3 inches apart in the garden to prevent crowding
• Start new trays every 2-3 weeks for a continuous harvest
What Makes the Difference
What matters most with carrots is consistency. In the garden, missing one watering during germination can mean your seeds never sprout.
Using egg trays gives you better control during those first critical weeks. You can easily check moisture levels and maintain stable conditions.
The results are stronger seedlings, earlier harvests, and well-formed roots.
Getting Started
Next time you use eggs, save the carton. Each one can start a dozen carrots that could be growing in your garden within weeks.
This simple approach turns something you’d normally recycle into a useful gardening tool that improves germination, saves space, and helps plants grow healthier.